Friday, 4 September 2020

HO NSWGR Exhibition Muttama Layout Build August 2020 Update

After going through personal woes of July which resulted the progress of Muttama only making a small amount of progress. August seem to somehow offer me with some good free time to work on on my current Muttama Project at a more rapid pace. August progress mostly focuses on the Landscaping of Muttama as you will see that this layout is no longer a plan baseboard with track on it.

Landscaping Muttama
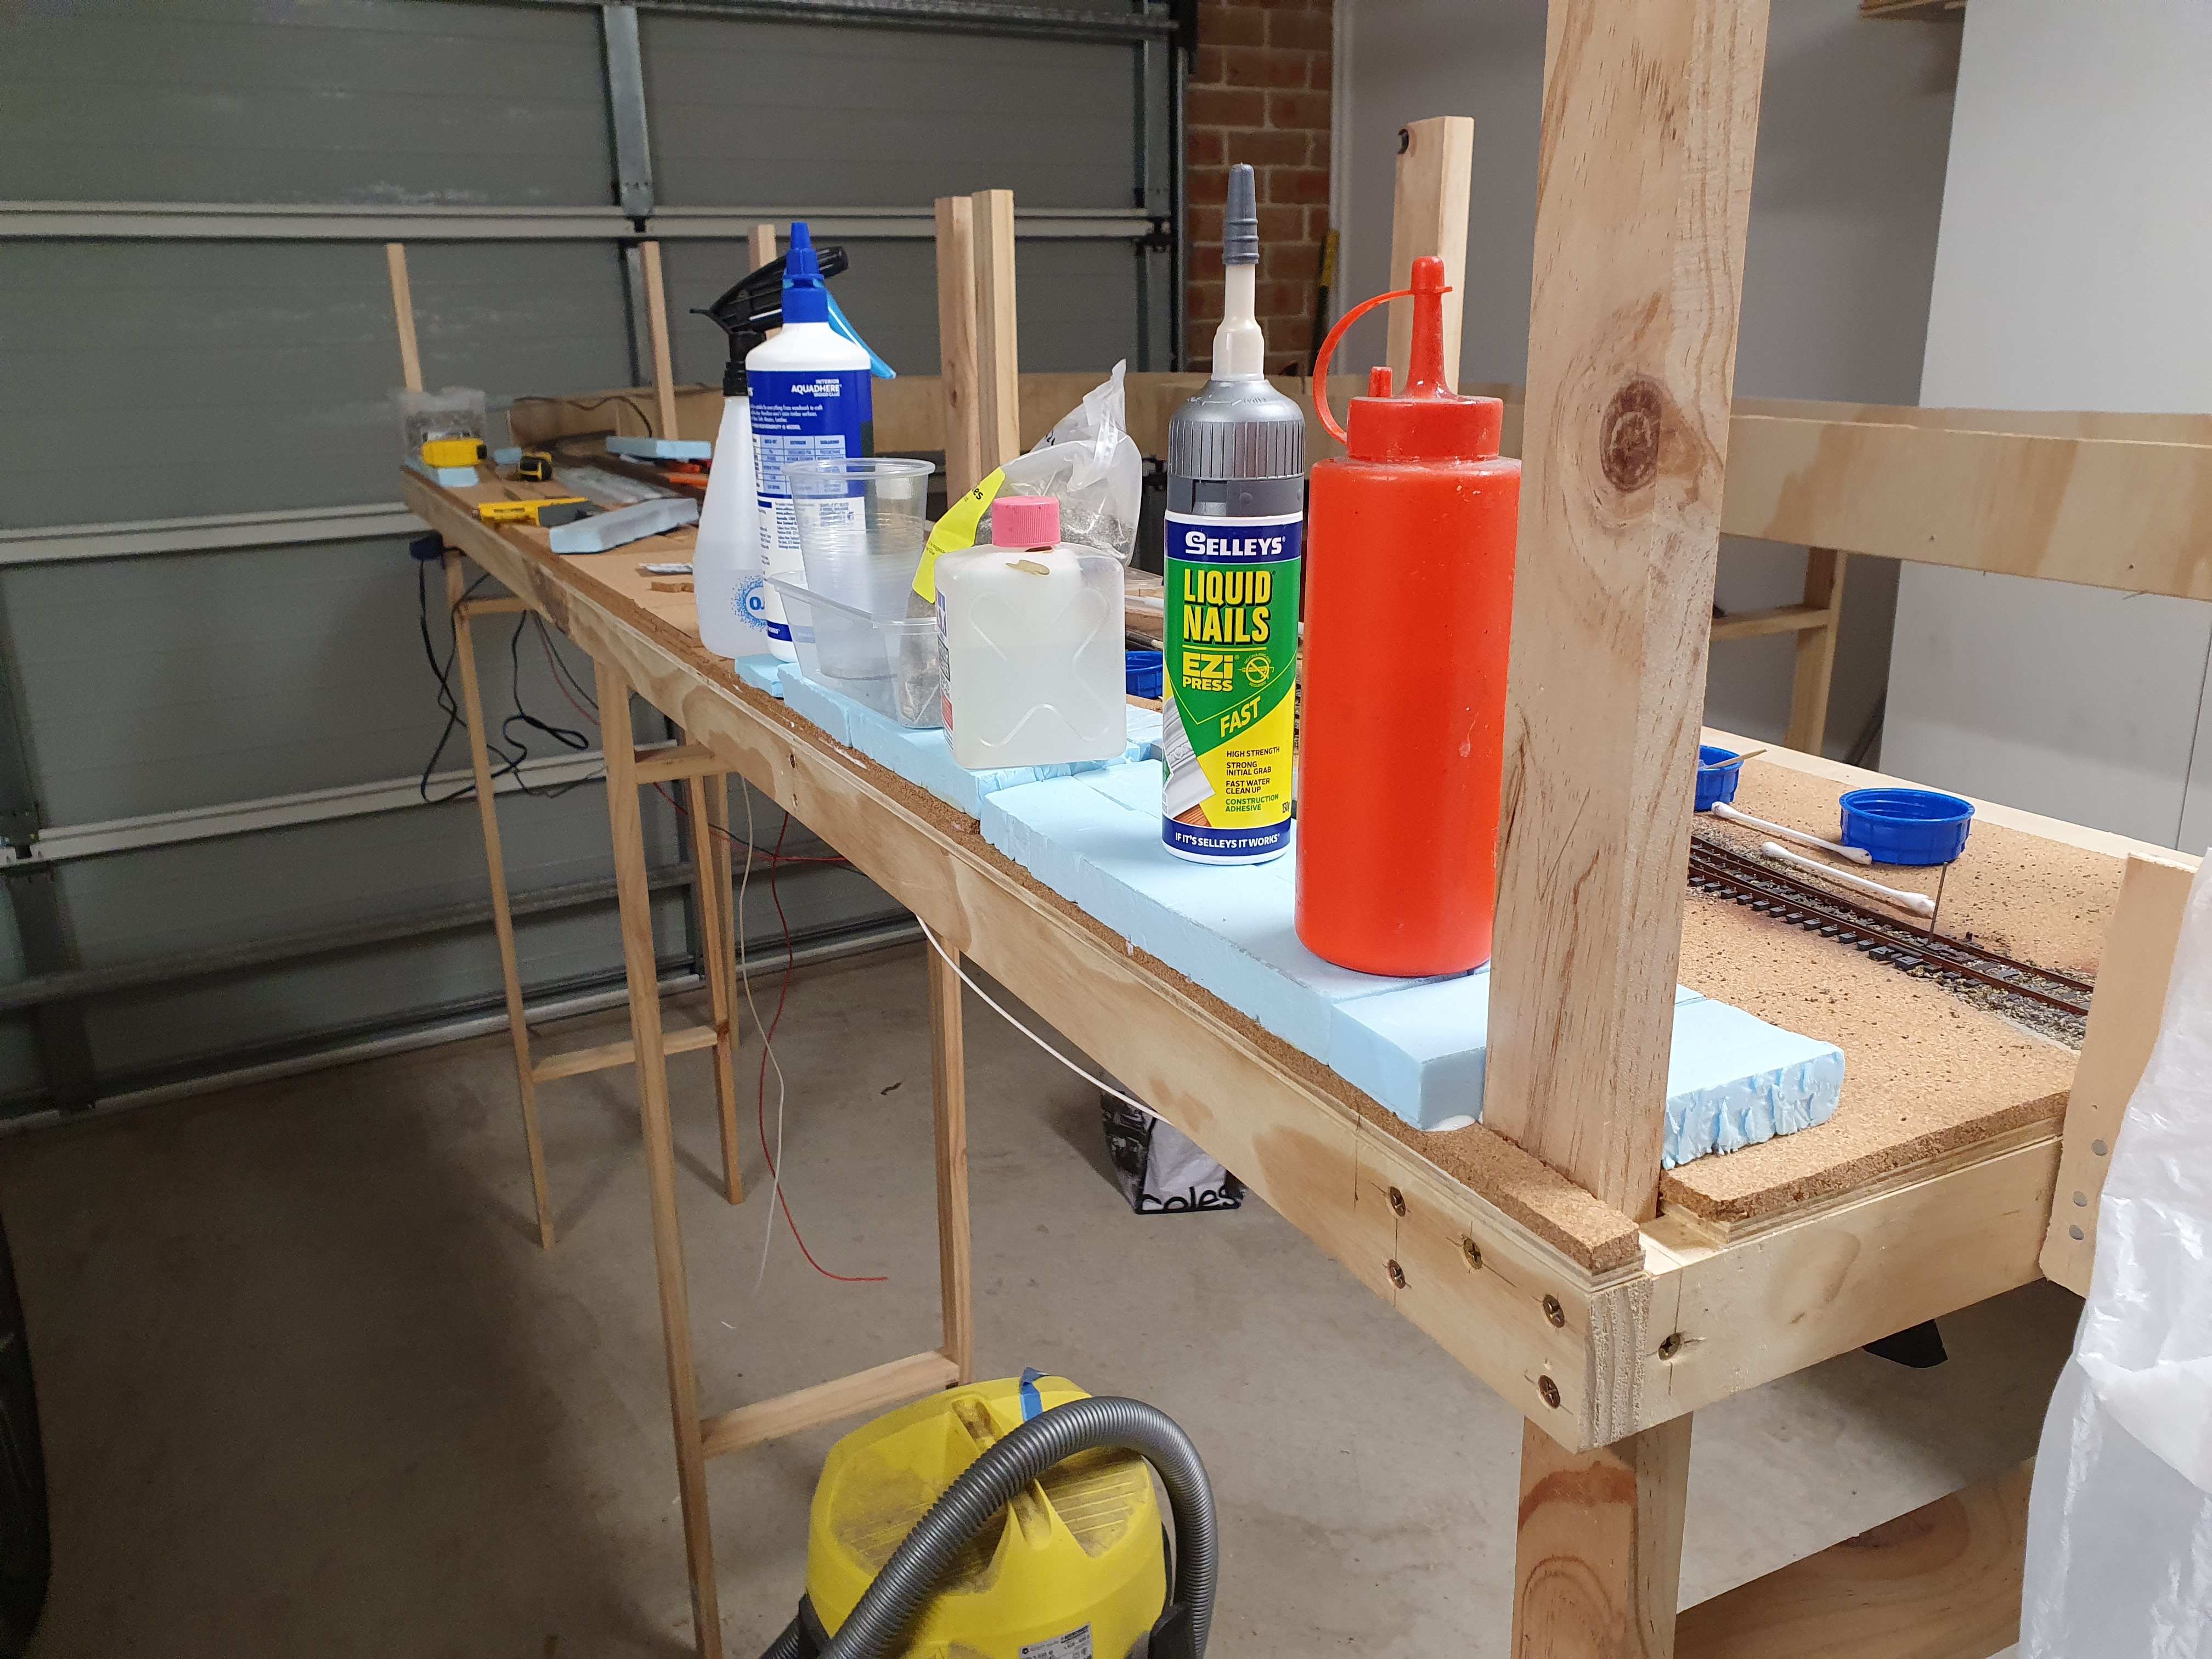
The actual start of the landscaping of Muttama occurred on the last few days in July which was the commencement of profiling of hills around Muttama railway station. From Cootamundra to Tumut, the Country side is rather hilly, therefore I wanted to represent that hilly profile for this project, but make it subtle enough so that the landscaping does not block the view of the track where the activity happens. Materials used is blue installation foam, Portugal cork off cuts and Selleys Spakfilla. Also need anything that has weight to keep the landscape formation materials in place when they are glued to the layout. Please note, that for this exercise, I just needed to get the profiling set as close to what is desired. Plastering and the grouting process will smooth out anything that looks rough. 


Above Pictures shows the progress of forming the landscaping profile which was carried out on the last few days of July.


Landscaping formation completed ready for plastering

Final Touches For The Landscaping Profile of Muttama
To complete the profile I used Woodlands Scenic Plaster cloth and Davco Corn Silk Coloured Grout.
It is worth noting that the Woodlands Scenics plaster Cloth I used here was their large roll which was the only option available at the time due to the high demand on hobby supplies due to COVID-19.


Plaster Cloth down ready to be set in place


Plaster socked and massage into place


Layer of Grouting applied which completes the Landscape Profiling of Muttama

It is worth mentioning that there are several methods of doing landscaping profiling. I have used the method above as grouting brings not only the ground colour but a bare ground finish, (Not showing the woven threads that gets presented from plaster cloth). It is also light in weight which is important for an exhibition layout especially if you are the only person to setup and dismantle a Layout at an Exhibition Event.

All of the above efforts from start to finish took me 8 nights to carry out.

Grassing Up Muttama
Once the Grout had dried up, it was time to apply the turf and grass. Mixture of different static grasses both in colour and in length where applied so it can blend in with the back scene (which I will reveal in a future blog). Please note that I have left some area bare as there are Line Side structures to be put in place at a later time without the need of ripping out scenery.


From the above pictures I applied a mix of Woodlands Scenics Yellow Grass and Burnt Grass Fine Turf. The platform, where the line side structures reside and the roadways will be scenic later on.


Static Grass applied

To match up with the back scene I have mixed up various colours of static grass to get that semi drought look. I have included a picture of the Woodlands Scenic static grass applicator which I have used to apply static grass on my Model Rail Club Exhibition Layout of Wingello, my Narellan Layout and now Muttama. It is not a cheap tool to have but one that I have found essential to have. This particular Static Grass applicator can operate from a 12 Volt adaptor or a 9 Volt battery. I have used this static on all 3 projects without a need yet to replace the 9 Volt battery. Not trying to give any means Woodlands scenics a free plug here, but I personally have found that any static grass applicator that is supplied with 9 Volts of power or above works effectively. In the past I have used a static grass applicator which operated from 2 x AA Batteries (3 Volts) which made the application of static grass difficult and not with the result that I was looking for.

Fencing
In any scene where there is a rail line present there would be at least some form of fencing and for Muttama there is going to be plenty of fence work that needs to be done. 

Fences do help a lot in uplifting the look of the scenery especially if there is plenty open area with no structures. Therefore are certainly worth the effort in doing. 

On a weekend that had bad weather outside, I cut length of wooden fence posts and drilled in some holes with a pinvise ready to be painted up.

Wooden Fence Posts now ready to be painted up


Fence Posts have been painted in Tamiya Neutral Gray


First lot of wired fencing done

Still a lot more fencing work to be carried out, but I will gradually resume the remainder of the fencing as the positing of some of the Line Side items are put in place.

There are a couple of more items that I got semi completed in August, therefore I will cover it in my next post.

Roadway and level Crossing still work in progress with a bit of work needed to get it looking right

Hopefully the warmer weather in Spring will encourage me to be in my workshop for a longer period of time which will result in getting more tasks completed. 


Friday, 7 August 2020

HO NSWGR Exhibition Muttama Layout Build July 2020 Update

Unfortunately not much got done as much as what I anticipated to do for the month of July for the following reason.

Farewell to My Father Neville Beyer
On Saturday afternoon on the 11-Jul-20, my father (Neville Beyer) sadly lost his battle with Cancer. Over the last 2 weeks before his passing, his health deteriorated at a rapid pace which meant the remaining time that I did have spare was spent with him. My father was diagnose with cancer last year. He was determine to try and beat it, but unfortunately, he had a rare type of cancer that just could not be defeated. However in saying this, he did exceed the life expectations that was set for him from the Doctors by 6 months. I suspect that this was helped by my Mother and Sister through their care of my father during this period of time.

My father have lived an eventful and interesting life, with his prime interest being involved in Motor Sport. For a period of time in his life he raced an Austin Lancer and raced in events along side the Late Great Peter Brock in his early days. He was involved in the development of Oran Park Raceway and was involved in all but 2 main events from the time that circuit opened back in 1962 and its last event when the circuit closed to make way of suburban development in 2010, where over this time period he held various Race Official Roles. During his retirement, he went on a mission in getting the history of Oran Park Raceway documented which resulted him in writing a book called the "The Quickest Way Round is on the Bitumen", which was released last year. Certainly a book that fully covers how one of the well known Motor Racing Circuits in Sydney become into its existence until its eventual demise. His efforts have certainly secured the history of this race circuit, but also the stories of those who were involved with Oran Park with several of these individuals that contributed to his book passing away before the book was released.

My father was the one who got me interested in Trains early in my life, where he would take me to some local vantage points such as Engadine, Heathcote and Waterfall to see some of the steam locomotives such as 5910, 3801 and the Flying Scotsman just to mention a few passing through. Furthermore, he was able to get tickets through his work for trips on the Flying Scotsman and 3801.

Missing you badly Dad, hopefully you are in a better place now.

What Did Get Done on Muttama
Carrying on for the last blog, I did have the ballasting ready to be glued onto the layout. I managed to get that set in place successfully with no issues at all. I used chucks Murulan Ballast.


Ballasting of the track work being carried out

Shapeways 3D Prints Finally Arrived
The 3D Printouts for Muttama have been received and have various results of the outcomes. What worked out well was the 3D Printout of the Good Shed and its components and all of the Chimneys for the Station Building and Gate Keepers Cottage.

Ensuring the 3D Printed parts for the Goods Shed fit in place

3D Printed Parts for the Goods Shed

Chimney and Fire place on the right is for the station Building, the Center Chimney and the end Chimney is for the Gate Keepers Cottage

Unfortunately, the station building waiting room entrance Curtain did not work out to my expectation and I missed out on getting the windows for the station building which I somehow missed out on my Order with Shapeways. It was a bit of a disappointment but something I can correct and order again. Though the silver lining here is that I can still work on getting the Goods Shed and the Gatekeepers Cottage completed whilst waiting on the remaining outstanding 3D Printed parts to be delivered for the Station Building.


Getting Back Into a New Normality
August is going to be a month that I anticipate to get into my model railway activities back on track with the hope that I can show some more rapid progress with Muttama with the aim of having this project completed by year end. One thing I can vouch for is that this hobby has been a stress reliever in the past and I know it will help relieve some of the pain of loosing a parent.

Just in a the few days into August, I have already managed to make some massive progress in the landscaping of Muttama. Perhaps I may get at least  one of the line side structures completed.

August Progress so far


Thursday, 9 July 2020

New HO NSWGR Exhibition Layout Build June 2020 Update

June progress may present itself that is has been slow moving, but a lot of progress has been done in the way of getting the Track Work ready to be finally fixed to the layout, as well as getting the electronics completed for the layout. Also, I feel that it is now the time to also announce the location of the Layout that I am modelling.

Track Laid Down and All Wired Up
I managed to finally get the Track set into position and wired up so that testing of the track work and the Magnetic uncouplers can be carried out. Certainly a few minor issues were found but fortunately nothing too difficult to resolve. I spent a good few days running various locomotives and rolling stock to ensure that they run effectively without any issues.

Testing out of the track work and the Electronics before making the wiring permanent.

Issues That Got Discovered and the Remediations
Track Work - No issues found. This is most likely due to a simple track plan.

Electronics - Only issue found was a scenario of a slight disconnect from one of track connections from one of my scenic modules to the connecting run around module. This issue was easily resolved by replacing the fishplate on the kato track connection. I was looking to avoid installing any wiring on the Left side Scenic module, however a wiring connection between the Left Side to Right Side Scenic Module will help in reducing the risk in that scenario to happen again. By doing this, it will maintain a separate bus path if a break in the connection within the track work was to occur.

Magnetic Uncouplers - The Magnetic uncouplers have been working to my expectation, but I have found with the knuckle couplers from different models of locomotives and rolling stock are not the same. Some work well with the Magnetic couplers and others don't. This is a new experience for me, but I found when testing out kadee Couplers that came already fitted with the Casula Hobbies HG Vans had the best results that I was looking for. I have been also engaged in talks with a couple of other of my model rail friends who have recommended certain types of Kadee couplers for magnetic uncoupling. Looks like converting the knuckle couplers on the locomotives and rolling stock that will be dedicated for this layout will need to now to be an added task for this project.


Robert P Magnetic uncoupler system that is designed to be placed into 6mm thick Portugal Cork sheet.

DCC Concepts ADS-2sx Solenoid Accessory Decoder Installation
I have decided to continue my faith with the DCC Concepts ADS Solenoid Decoder as I have found they worked exceptionally well on my Narellan Exhibition Layout. I was fortunate enough to purchase this Solenoid Accessory decoder when the latest batch was put to market recently. It is worth noting that in this latest batch DCC Concepts have introduced a 4 output unit version. Not long after acquiring my ADS-2sx, all versions of this unit have been sold out. I guess that DCC concepts will be pushing for another batch of these ADS unit from their manufactures in the near future. These ADS units do offer flexibility between DC and DCC power options.


In the case for this Project, there are only two points that I will need to throw, therefore only need to install one ADS-2sx.

Setting In the Kato Track
The lengths of Kato Track that has been used on this layout is to allow connection between the modules and track on my run around solution back to the Fiddle Yard. Unlike my Narellan Layout, I have decided to use Kato track to link up both of the Scenic Modules. I have used Liquid Nails to fix in the Kato Track. Hopefully this will be a solid solution when connecting both of the Scenic modules together.

 One example of a length of Kato Track Liquid Nailed in place

It is worth noting that I have replaced the code83 track with Peco code75. There is a process involved in doing this which is worthy of its own blog.

Getting the Track Ready For Ballasting
Before the Ballasting gets put in place, the weathering of the sleepers and track will need to be carried out. In this instance I decided to use a light spray of Tamyia Hull Red and Neutral Grey.
At this point of time I have not yet painted the edge of the rails painted, but more on that will be covered in my July update.

Weathering applied to the track work

Naming of the New HO Scale Exhibition Layout
Ok, I have left many of you in suspense for a while now on what location that I am modelling here. First of all, Narellan is a nostalgic layout of well known location that was very unique in its own right. The location that Im modelling here is not as nostalgic but is certainly very unique. This is a location based on a well known branch line which have not received as much of the lime light compared to the other stations that resided along the Cootamundra to Tumut Branch line. Not too many photographs of this station have been found, but the few that I could find were excellent shots. What lacked in photographic evidence was made up by plans of the station building, goods shed, Gatekeepers Cottage and a track plan which were mostly obtained from the NSW ARHS Resource Center.

The Location that I am modelling here is called Muttama, which is very unique to the fact that it is a very early days station building that is believed to have remained in place until the time the line closed. The Goods Shed that was constructed was also very unique to the fact it had a rounded roof and a very different type of goods shed configuration compared to other goods sheds that were constructed elsewhere on the NSWGR network.

Muttama was the second station heading south from Cootamundra to Tumut and seems to have serviced a small population. Muttama consisted of a small loop siding for the goods shed and stock yard.

My objective in building this layout is not just to get the recognition that Muttama deserves on this popular Branch Line, but hoping to demonstrate to those who have ambitions in following this hobby that you do not need a complex track plan for a decent layout.

Here is the link on the NSWRail.net website that contains the few rare shots of Muttama Railway station.
https://nswrail.net/locations/show.php?name=NSW:Muttama&line=NSW:tumut:0

Well that is my June update completed. Finally, my Shapeways order for the 3D Prints needed for my Muttama Project has just arrived the other day. This will now allow me to start the construction on all of the line side buildings. More on this on my upcoming July 2020 update.


Friday, 5 June 2020

New HO NSWGR Exhibition Layout Build May 2020 Update

As mentioned in my last blog post I have commenced working on a new HO Scale NSWGR themed Exhibition layout. I started this project back in late March of this year, where I started to gather up the surplus materials that I had left over from the Narellan Project. The only few things that I needed to purchase was the timber to build the modules, a top up of some scenic materials and order several 3D Print outs for this project.

Timber purchased from Bunnings in late March of this year

Module Construction
I have made the modules similar to how Narellan was build but minus 4 cm off the height. Unlike the Narellan approach where the Modules were built in progressive stages, I have decided to build the full pigeon box module setup in the one hit more to ensure that all everything squares up with out any issues when joining the two modules up.

All set to go with the Modules Construction completed

Getting Back into 3D Drawing
It is hard think that my last 3D drawing efforts was done in late 2018. For this project, I found that more than a few items will need to be 3D drawn up and printed. I managed to get myself re-familiar with Sketch up and produced some items which I'm currently in waiting for to be delivered from the 3d Printers. I thought it will be best to get the 3d drawings done first as I will probably need to be waiting for a while until the printouts get delivered. Without these 3d Prints I can not get started on some of the buildings. But for now there are certainly other items I can get completed whilst Im waiting for my 3D printouts.


One of many 3D Drawings pending to printed out for this project

Platform Construction
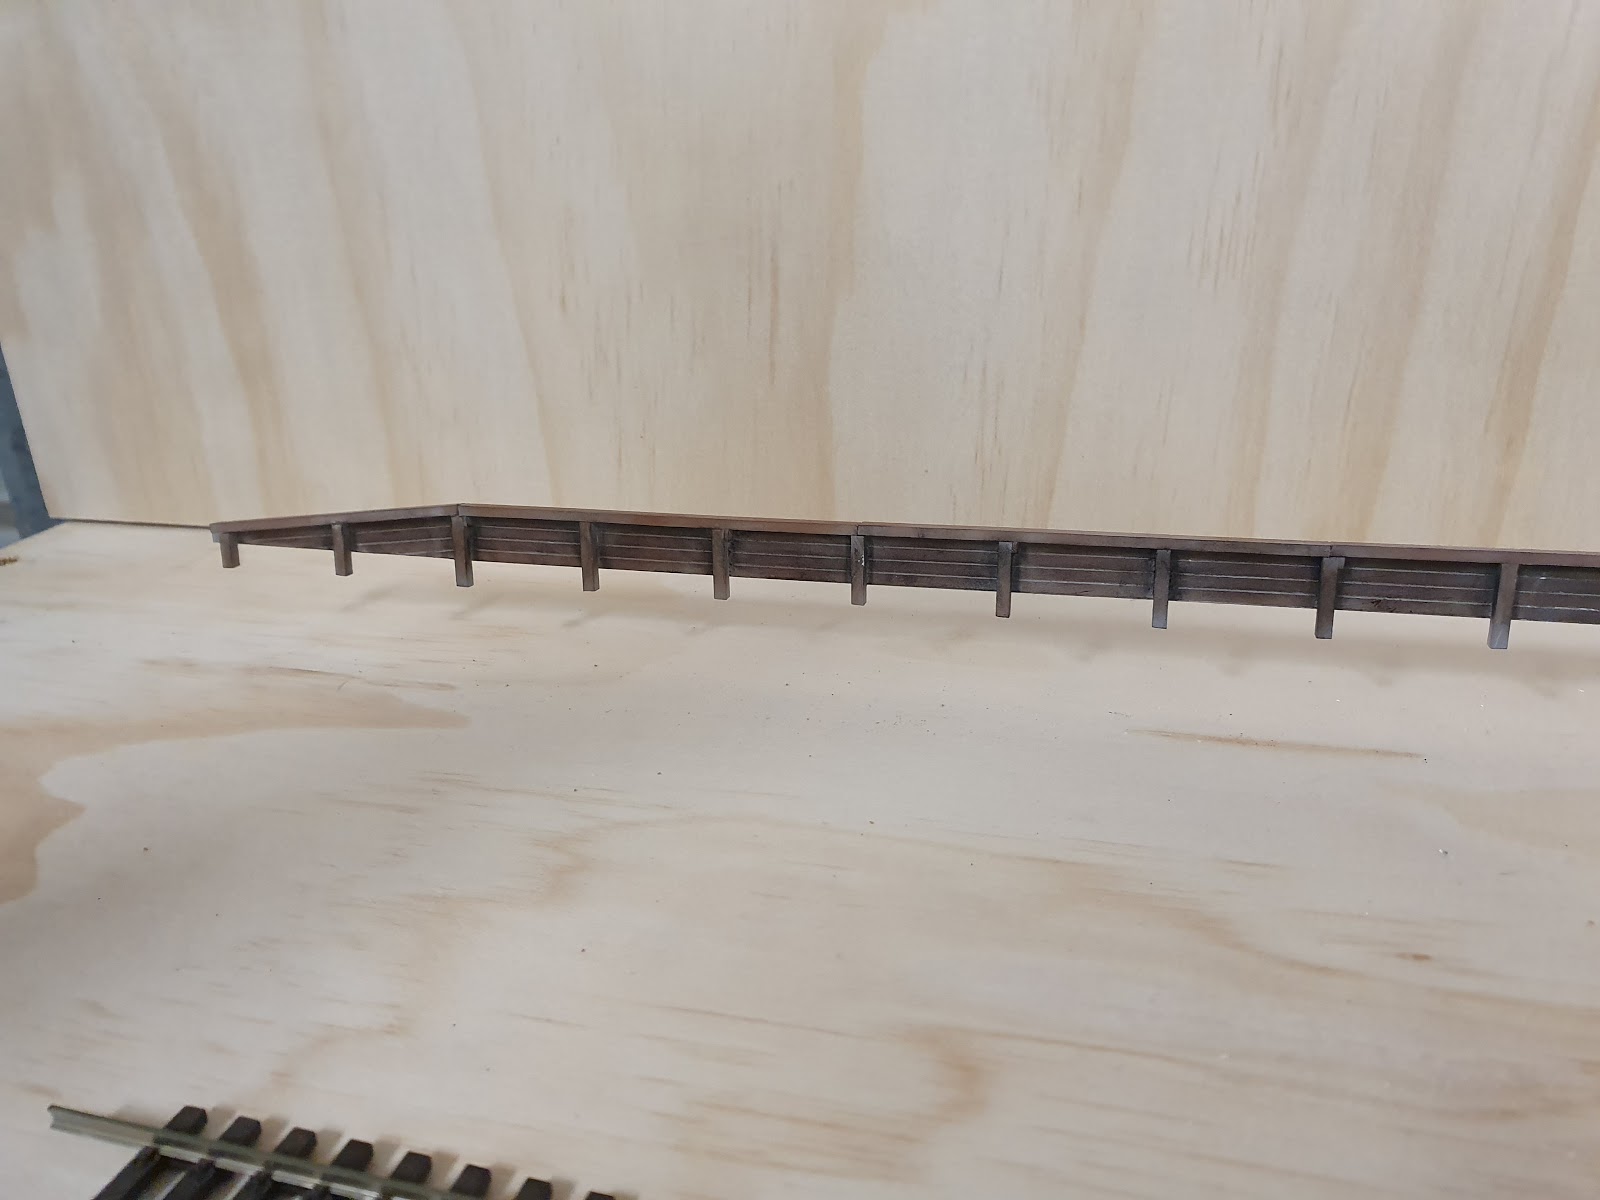
I do personally prefer scratch building over 3D printing just on the basis that it does remove me away from the computer and it allows to challenge myself in building something nice up. I manage to complete the Station platform out of styrene. I should note that I did scrape the styrene that I used to construct the platform with a small wire brush to get that wood grain effect. I have taken a different direction than normal which was prime the platform and instead of painting, I used a mix of Tamiya and Humbrol weather powders. I decided to do the colouring of the platform from this method after having a conversation with one of my model rail friends who suggested to try this out. Well, not only it worked well but it saved me making a mess in the garage that I recently cleaned up by not needing to setup my paint workshop.


Above pictures shows the progressive steps in detailing the station platform

To close of the my May 2020 Exhibition Layout Build update, I did use the remaining Portugal Cork  that I had in surplus from my Narellan project, glued onto the baseboards and use some of the offcuts build the mound for the passenger platform area.

Track is almost ready to be laid. But before it get permanently laid and set it place, unlike Narellan, I will be installing magnetic uncouplers to allow for shunting activities to be carried out. The magnetic uncouplers are a design by one of my model Rail Friends Robert P which allows housing of 2 lots of rare earth magnets which do a great job in uncoupling. At this point of time I have only carried out one session of basic testing. I will need to do some test runs to ensure where I intend to place the magnetic uncouplers work as expected without creating other issues.

 Cork Board are down, track laying process has started

Robert P Magnetic uncoupler housing for rare earth magnets

 Initial testing of the magnetic uncouplers with positive results, but more test scenarios will be carried out during June

Not sure if what I have presented in this blog has given away the location that I'm modelling here, but if the 3D prints arrive on time for my next months blog, then I have be forced to reveal the location as it is rather unique.