The Cc1 3D Printout Model From the Begining
Last year, I managed to develop my 3D Drawing skills. I decided to draw up a 3D Print of the NSWGR Cc1 with Lamp Room as there was one based at Tumbarumba. There was not one that was available on the market that I could find, hence the reason for me to produce a 3D print of one.

After a couple of printouts attempts were delivered, I have shown a few of my model rail friends they were impressed with it. But at stage it was not my intention to for it to go on the market place.


The original roof was scratch built from Styrene, Code 55 HO Scale Micro Engineering Rail and HO Scale Corrugated Metal sheeting.
I did end up showing this model to other railway modellers and posted it on a couple of NSW and Australian Model Rail Facebook Groups and was asked by many if I will market this model.
So I decided to move forward kick off the process of placing this model onto the market.
Getting the Models Ready to Market
I decided to do also the Cc1 version (Cc1 without the Lamp Room) as they were also common and I could just easily remove the Lamp Room from my original drawing.
I felt that both of the Cc1 models would also need the roof section provided as an option as well. Therefore, I drawn the various Roof Options. This took a fair bit of time to get it right. More so on the area underneath the Roof Second that adjoins onto the verticals on Cc1 3D Print out.


I could say that the following could be best described as the pre-poduction model run notes.
Over the last few months I did encounter a few minor set backs which were easily corrected with the 3D Printouts. This means that I had get Shapeway to printout the corrected models and wait for the shipment to of the models. This takes on average 2 weeks from order placement to the 3D Printout delivery to my postal address for each correction that was made. But managed to get it all right in the end.
This also enable me to see if there were any issues encountered with the models in the way of shipment and/or other risk of issues that may occur.
I had both the Cc1 and Cc1 with Lamp Room samples printed in both Ultra Frosted and Extreme Frosted detail. I have printed out six pre-poduction models that were dispatched in 3 different shipments from Shapeways. Only one of the Cc1's was delivered slightly buckled, but was easily straighten up with use of a Hair Dryer. That buckled Cc1 model was the one that I painted in Duck Egg Blue colour (as shown in the pictures later on in this post. Unfortunately, I did not take a picture of that particular model before fixing it up.
The roof sections all seems to be deliver a little bent, but was able to easily straighten them up with the use of a Hair Dryer. This has been the only common issue found but it has an easy fix for it.
I was satisfied that these 3D Cc1 Models are ready to be marketed.
I also have written up a step by step set of instructions from the ordering to the completion of these Models.
Here is the Link to my Shapeways Store:
https://www.shapeways.com/shops/branching-out-rail-models
Here is the link for the instructions:
https://drive.google.com/file/d/1Oav9UfX11O62cF_FFlKPzG_e9o1Dz_6V/view?usp=sharing
The Cc1 & Cc1 with Lamp Room Model Run Down
The models are in HO Scale and come in a 2 piece from Shapeways.
They will fit well with the Pc1 and Pc2 Rail Central Kits as they are the 15 inch concrete Panel. I believe that some of these Cc1 buildings may have resided also within major goods rail yards, happy to receive feedback on that point. The 10 inch concrete Panel Cc1 Buildings may be done at a later time pending on the success on what is on the market now.
As noted in the instructions, cleaning of the model is needed where sanding with 400 Grade Wet and Dry sand paper is needed. This may take a couple of hours for a careful cleanup of the the Cc1 models, but the results will be worth it in the end.
Masking up the model will take time, but if you would like the option to lift the lid and and show to people what a Cc1 looked like inside, then Masking up the model with care will be worth it.
However, cleaning up on the inside of the building will be difficult but may not be necessary as they inside will be hard to view especially if you decide to glue on the roof.
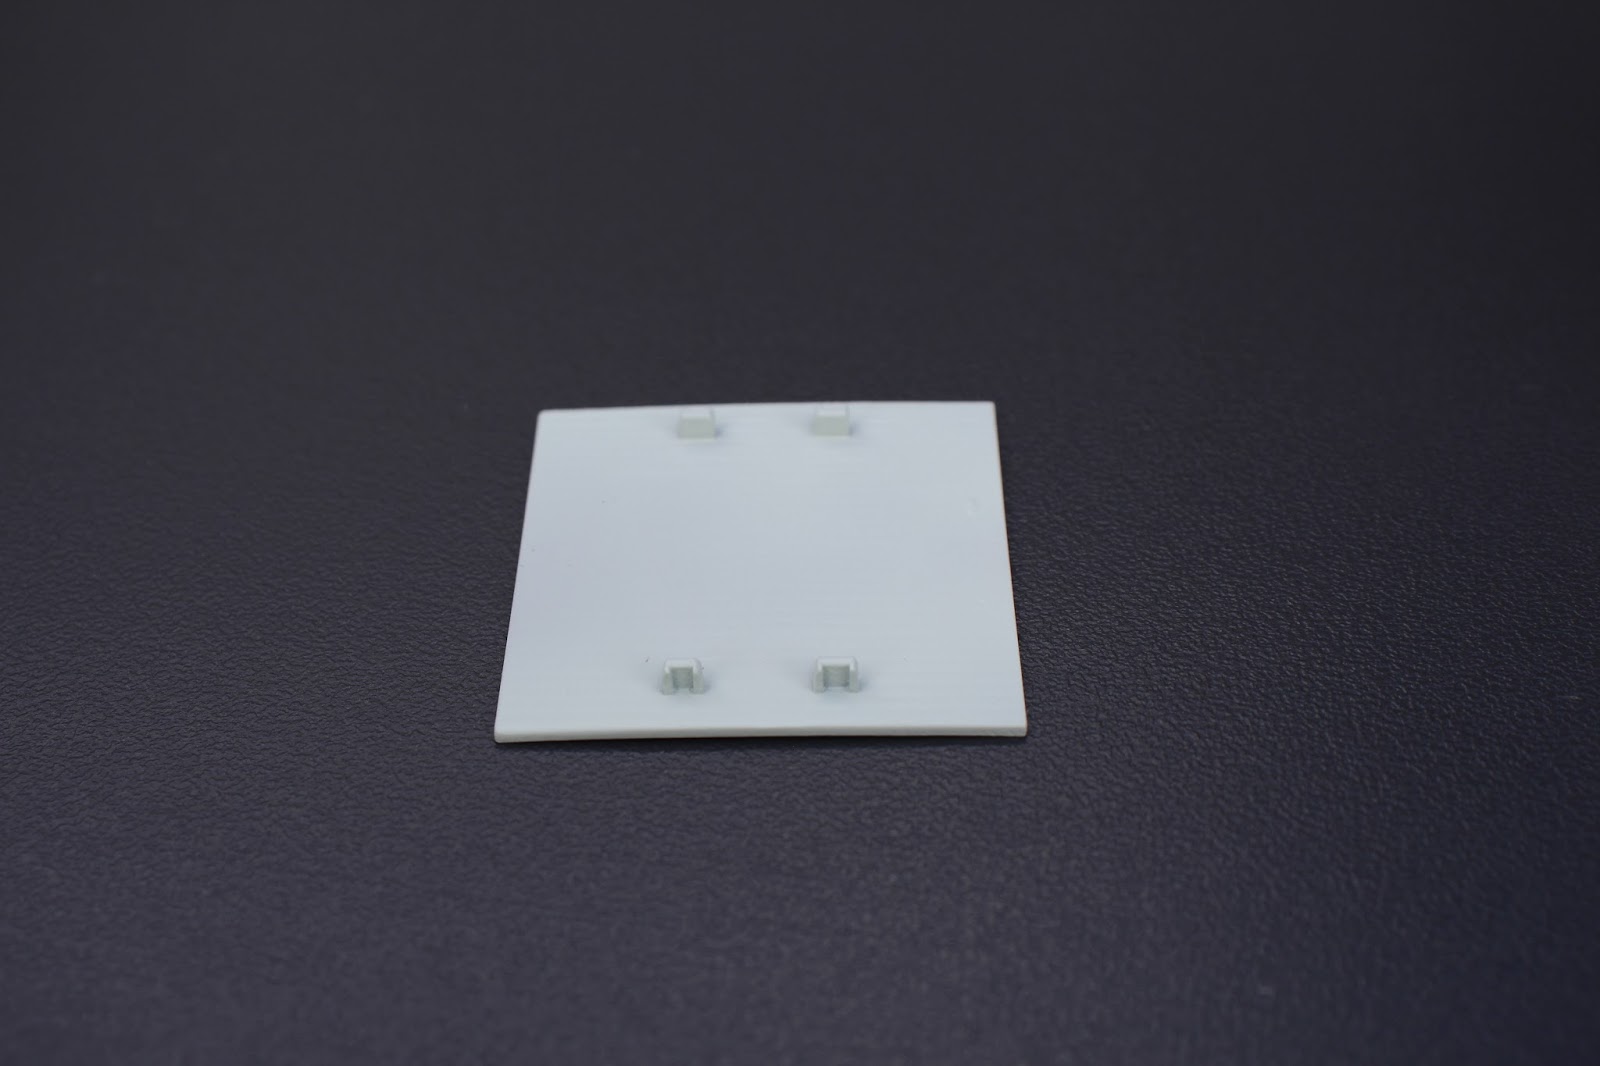
You will find that the roof section may not feel that there is a tight fit when the model is delivered, but once primed and painted, it should grab to the vertical supports on the Cc1 Building.
The fitting of the roof on the Cc1 with Lamp Room will be simple to work out, but for the Cc1 with no Lamp room, one of the roof linkages channel to the Cc1 is wider than the others. This is due to the fact that the vertical support that has the toilet enclosure wall connected it, is wider as there are 3 lots of concrete panels connected to the one Vertical.
The Cc1 and the Cc1 with Lamp Room both come with two Roofing options which is Roof with no fascia's and Roof with fascia's. Basically, some Cc1's may not have the Corrugated Roofing (or it got removed at some point) and no fascia's, where as others did. Basically you decide on the roofing option.
If you decide to purchase a Cc1 with the Roof with fascia's to place on corrugated iron, then HO corrugated sheeting will be needed. I would personally recommend Northeastern Scale Lumber Co. 5 / Bag HOCORRMRFB "HO" SCALE CORR METAL RF 1 1/2" X 8". A Hobby store should have these in stock. But if you are looking at doing multiple structures for you Model Rail Project, what is left of this corrugated roof will not go to waste.
The Door for the Cc1 with Lamp room will need Grandt Line 30" x 66" Planked Door (Reference Number 5293). The door may need to be filed slightly to fit into the Door Frame.

Pricing of the Cc1 3D Printed Models
Shapeways base their pricing in US dollars, which means the pricing will vary day to day for other international currencies. However, Shapeways do specials throughout the year which could be free postage deal, or a price mark down.
At the time of publishing this post, I only have the Cc1 models in my stall, but I would encourage you to look at other stalls within Shapeways to see if there are other Shapeway other products from so to better capitalise on the postage.
Shapeways deals may also come up as a popup on their Website, like for example full out a survey and receive a discount on your next order. The common time for Shapeways deals are on Black Friday Sales (In November).
Also you will noticed that there is a significant price difference between Frosted Ultra Detail and Frosted Extreme Detail 3D printed materials.
Both 3D Printed materials are decent, but the Frosted Extreme Detail is slightly easier to clean up compared to the Frosted Ultra Detail. I have made both options available in my Shapeways Store for both the Cc1 and Cc1 With Lamp Room structures.
However, I have only done the Roof sections in Frosted Ultra Detail based on the fact that the roof section is very easy to clean up and as well to try and keep the price down.
Other items to Market
There may be a few more items that will make it's way to the Shapeways market place, but for now I would just like to see how successful the Cc1 models are before placing any other items onto the market place.
Some More Pictures of the Cc1 3D Printed Models
The following are the Cc1 with Lamp Room that contains the Roof with fascia's on the left and the Cc1 that contains the Roof with no Fascia's on the right. Note that the Corrugated sheeting, the door and rail on the Cc1 with Lamp room are detailing that needs to be sourced outside of the Shapeways store.


Last year, I managed to develop my 3D Drawing skills. I decided to draw up a 3D Print of the NSWGR Cc1 with Lamp Room as there was one based at Tumbarumba. There was not one that was available on the market that I could find, hence the reason for me to produce a 3D print of one.

3D Drawing of the Cc1 with Lamp Room
After a couple of printouts attempts were delivered, I have shown a few of my model rail friends they were impressed with it. But at stage it was not my intention to for it to go on the market place.


The 3D Printout of the Cc1 with Lamp Room for my Tumbarumba Layout with the Roof section scratched built.
The original roof was scratch built from Styrene, Code 55 HO Scale Micro Engineering Rail and HO Scale Corrugated Metal sheeting.
I did end up showing this model to other railway modellers and posted it on a couple of NSW and Australian Model Rail Facebook Groups and was asked by many if I will market this model.
So I decided to move forward kick off the process of placing this model onto the market.
Getting the Models Ready to Market
I decided to do also the Cc1 version (Cc1 without the Lamp Room) as they were also common and I could just easily remove the Lamp Room from my original drawing.
I felt that both of the Cc1 models would also need the roof section provided as an option as well. Therefore, I drawn the various Roof Options. This took a fair bit of time to get it right. More so on the area underneath the Roof Second that adjoins onto the verticals on Cc1 3D Print out.

3D Drawing of the Cc1


Above two photos are what I took inside the Cc1 with Lamp Room that is still in existence today at Bombala. The 3D Printed Roofs have been detailed with the concrete chocks that provides the linkage of the Rail Support for the ceiling and the Vertical Support.
I could say that the following could be best described as the pre-poduction model run notes.
Over the last few months I did encounter a few minor set backs which were easily corrected with the 3D Printouts. This means that I had get Shapeway to printout the corrected models and wait for the shipment to of the models. This takes on average 2 weeks from order placement to the 3D Printout delivery to my postal address for each correction that was made. But managed to get it all right in the end.
This also enable me to see if there were any issues encountered with the models in the way of shipment and/or other risk of issues that may occur.
I had both the Cc1 and Cc1 with Lamp Room samples printed in both Ultra Frosted and Extreme Frosted detail. I have printed out six pre-poduction models that were dispatched in 3 different shipments from Shapeways. Only one of the Cc1's was delivered slightly buckled, but was easily straighten up with use of a Hair Dryer. That buckled Cc1 model was the one that I painted in Duck Egg Blue colour (as shown in the pictures later on in this post. Unfortunately, I did not take a picture of that particular model before fixing it up.
The roof sections all seems to be deliver a little bent, but was able to easily straighten them up with the use of a Hair Dryer. This has been the only common issue found but it has an easy fix for it.
I was satisfied that these 3D Cc1 Models are ready to be marketed.
I also have written up a step by step set of instructions from the ordering to the completion of these Models.
Here is the Link to my Shapeways Store:
https://www.shapeways.com/shops/branching-out-rail-models
Here is the link for the instructions:
https://drive.google.com/file/d/1Oav9UfX11O62cF_FFlKPzG_e9o1Dz_6V/view?usp=sharing
The Cc1 & Cc1 with Lamp Room Model Run Down
The models are in HO Scale and come in a 2 piece from Shapeways.
They will fit well with the Pc1 and Pc2 Rail Central Kits as they are the 15 inch concrete Panel. I believe that some of these Cc1 buildings may have resided also within major goods rail yards, happy to receive feedback on that point. The 10 inch concrete Panel Cc1 Buildings may be done at a later time pending on the success on what is on the market now.
As noted in the instructions, cleaning of the model is needed where sanding with 400 Grade Wet and Dry sand paper is needed. This may take a couple of hours for a careful cleanup of the the Cc1 models, but the results will be worth it in the end.
Masking up the model will take time, but if you would like the option to lift the lid and and show to people what a Cc1 looked like inside, then Masking up the model with care will be worth it.
However, cleaning up on the inside of the building will be difficult but may not be necessary as they inside will be hard to view especially if you decide to glue on the roof.
You will find that the roof section may not feel that there is a tight fit when the model is delivered, but once primed and painted, it should grab to the vertical supports on the Cc1 Building.
The fitting of the roof on the Cc1 with Lamp Room will be simple to work out, but for the Cc1 with no Lamp room, one of the roof linkages channel to the Cc1 is wider than the others. This is due to the fact that the vertical support that has the toilet enclosure wall connected it, is wider as there are 3 lots of concrete panels connected to the one Vertical.
The Cc1 and the Cc1 with Lamp Room both come with two Roofing options which is Roof with no fascia's and Roof with fascia's. Basically, some Cc1's may not have the Corrugated Roofing (or it got removed at some point) and no fascia's, where as others did. Basically you decide on the roofing option.
If you decide to purchase a Cc1 with the Roof with fascia's to place on corrugated iron, then HO corrugated sheeting will be needed. I would personally recommend Northeastern Scale Lumber Co. 5 / Bag HOCORRMRFB "HO" SCALE CORR METAL RF 1 1/2" X 8". A Hobby store should have these in stock. But if you are looking at doing multiple structures for you Model Rail Project, what is left of this corrugated roof will not go to waste.
The Door for the Cc1 with Lamp room will need Grandt Line 30" x 66" Planked Door (Reference Number 5293). The door may need to be filed slightly to fit into the Door Frame.

Cc1 with Lamp Room based at Bombala. Its construction is inverted compared to the standard Cc1's. Bombala version may be modelled later on pending if there is a resonable demand for it.
Pricing of the Cc1 3D Printed Models
Shapeways base their pricing in US dollars, which means the pricing will vary day to day for other international currencies. However, Shapeways do specials throughout the year which could be free postage deal, or a price mark down.
At the time of publishing this post, I only have the Cc1 models in my stall, but I would encourage you to look at other stalls within Shapeways to see if there are other Shapeway other products from so to better capitalise on the postage.
Shapeways deals may also come up as a popup on their Website, like for example full out a survey and receive a discount on your next order. The common time for Shapeways deals are on Black Friday Sales (In November).
Also you will noticed that there is a significant price difference between Frosted Ultra Detail and Frosted Extreme Detail 3D printed materials.
Both 3D Printed materials are decent, but the Frosted Extreme Detail is slightly easier to clean up compared to the Frosted Ultra Detail. I have made both options available in my Shapeways Store for both the Cc1 and Cc1 With Lamp Room structures.
However, I have only done the Roof sections in Frosted Ultra Detail based on the fact that the roof section is very easy to clean up and as well to try and keep the price down.
Other items to Market
There may be a few more items that will make it's way to the Shapeways market place, but for now I would just like to see how successful the Cc1 models are before placing any other items onto the market place.
Some More Pictures of the Cc1 3D Printed Models
The following are the Cc1 with Lamp Room that contains the Roof with fascia's on the left and the Cc1 that contains the Roof with no Fascia's on the right. Note that the Corrugated sheeting, the door and rail on the Cc1 with Lamp room are detailing that needs to be sourced outside of the Shapeways store.