As mentioned in my last blog post I have commenced working on a new HO Scale NSWGR themed Exhibition layout. I started this project back in late March of this year, where I started to gather up the surplus materials that I had left over from the Narellan Project. The only few things that I needed to purchase was the timber to build the modules, a top up of some scenic materials and order several 3D Print outs for this project.

Module Construction
I have made the modules similar to how Narellan was build but minus 4 cm off the height. Unlike the Narellan approach where the Modules were built in progressive stages, I have decided to build the full pigeon box module setup in the one hit more to ensure that all everything squares up with out any issues when joining the two modules up.


Timber purchased from Bunnings in late March of this year
Module Construction
I have made the modules similar to how Narellan was build but minus 4 cm off the height. Unlike the Narellan approach where the Modules were built in progressive stages, I have decided to build the full pigeon box module setup in the one hit more to ensure that all everything squares up with out any issues when joining the two modules up.

All set to go with the Modules Construction completed
Getting Back into 3D Drawing
It is hard think that my last 3D drawing efforts was done in late 2018. For this project, I found that more than a few items will need to be 3D drawn up and printed. I managed to get myself re-familiar with Sketch up and produced some items which I'm currently in waiting for to be delivered from the 3d Printers. I thought it will be best to get the 3d drawings done first as I will probably need to be waiting for a while until the printouts get delivered. Without these 3d Prints I can not get started on some of the buildings. But for now there are certainly other items I can get completed whilst Im waiting for my 3D printouts.

One of many 3D Drawings pending to printed out for this project
Platform Construction
I do personally prefer scratch building over 3D printing just on the basis that it does remove me away from the computer and it allows to challenge myself in building something nice up. I manage to complete the Station platform out of styrene. I should note that I did scrape the styrene that I used to construct the platform with a small wire brush to get that wood grain effect. I have taken a different direction than normal which was prime the platform and instead of painting, I used a mix of Tamiya and Humbrol weather powders. I decided to do the colouring of the platform from this method after having a conversation with one of my model rail friends who suggested to try this out. Well, not only it worked well but it saved me making a mess in the garage that I recently cleaned up by not needing to setup my paint workshop.


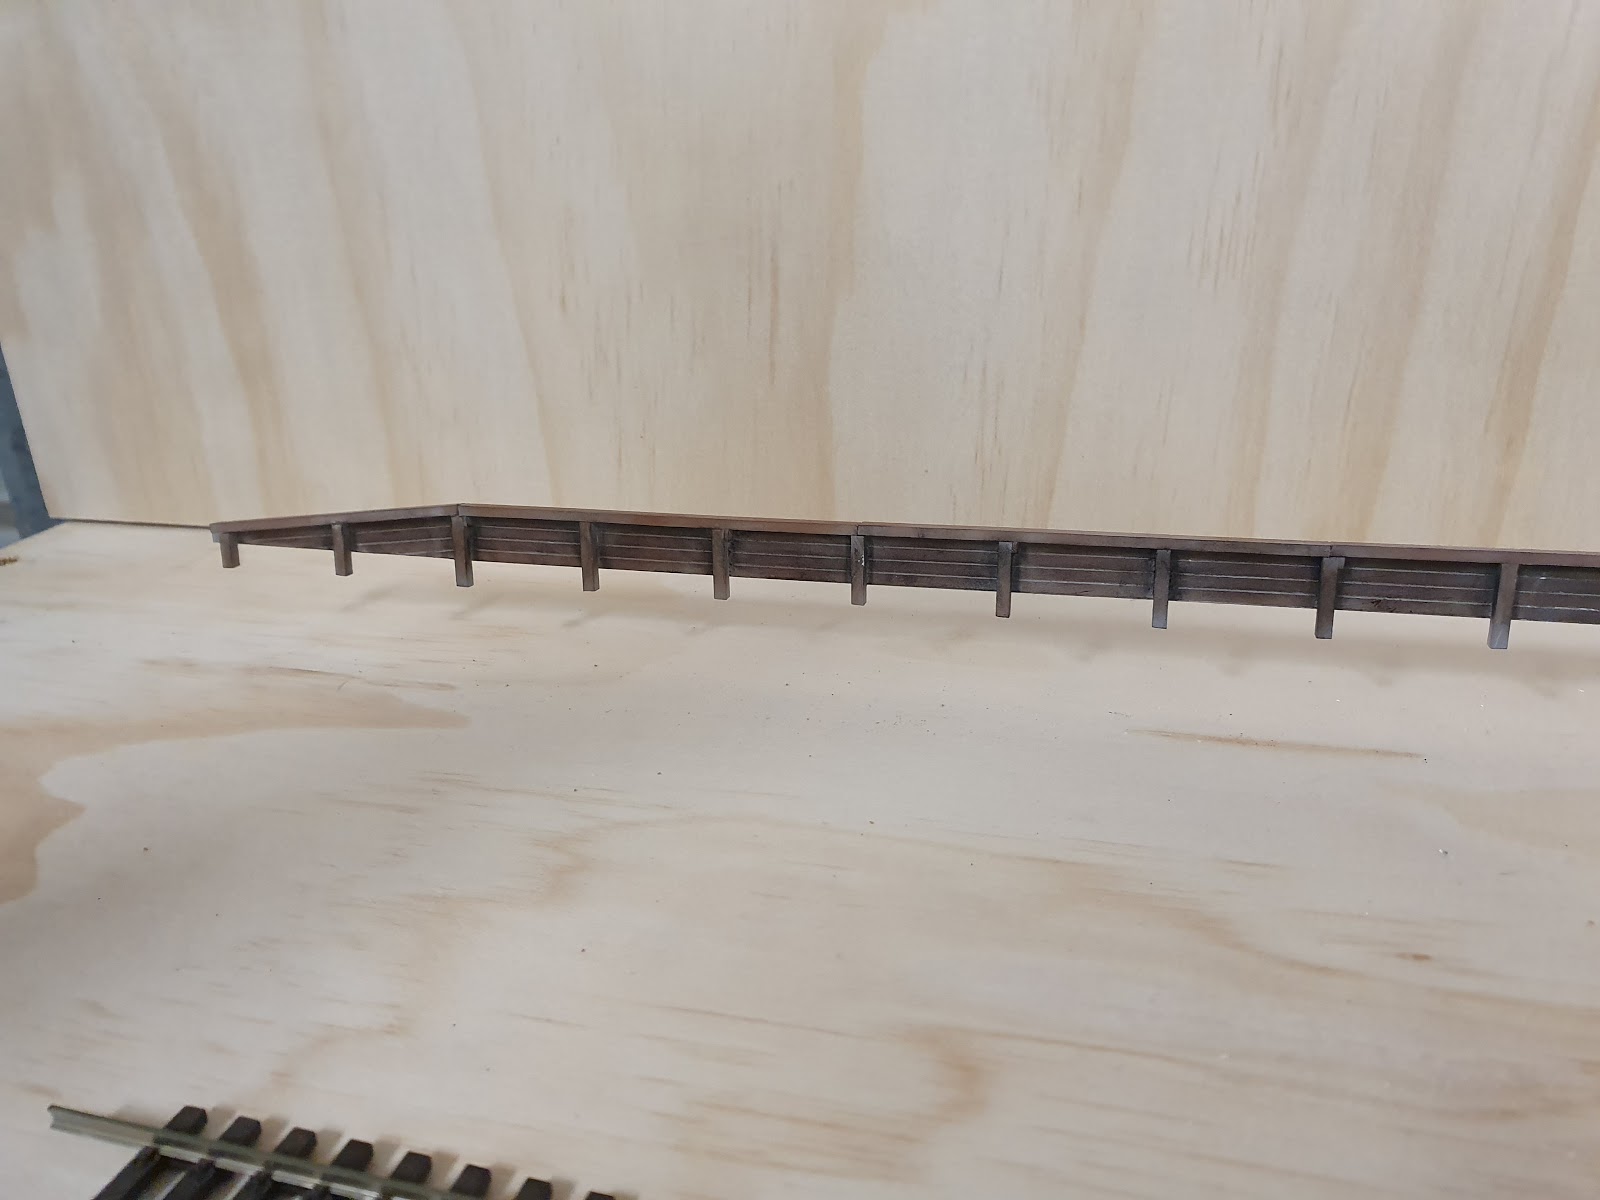

Above pictures shows the progressive steps in detailing the station platform
 Cork Board are down, track laying process has started
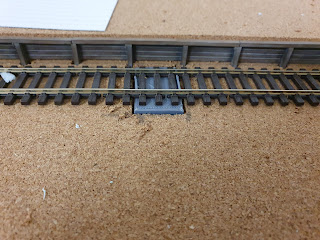 Robert P Magnetic uncoupler housing for rare earth magnets

To close of the my May 2020 Exhibition Layout Build update, I did use the remaining Portugal Cork that I had in surplus from my Narellan project, glued onto the baseboards and use some of the offcuts build the mound for the passenger platform area.
Track is almost ready to be laid. But before it get permanently laid and set it place, unlike Narellan, I will be installing magnetic uncouplers to allow for shunting activities to be carried out. The magnetic uncouplers are a design by one of my model Rail Friends Robert P which allows housing of 2 lots of rare earth magnets which do a great job in uncoupling. At this point of time I have only carried out one session of basic testing. I will need to do some test runs to ensure where I intend to place the magnetic uncouplers work as expected without creating other issues.


Initial testing of the magnetic uncouplers with positive results, but more test scenarios will be carried out during June
Not sure if what I have presented in this blog has given away the location that I'm modelling here, but if the 3D prints arrive on time for my next months blog, then I have be forced to reveal the location as it is rather unique.
Peter,you make several references to waiting for 3D prints. Are you sourcing those from the US or have you found a local provider?
ReplyDeletethanks Phil
Hi Phil,
ReplyDeleteI decided to still get my 3D printouts through shapeways, hence the printouts will be produced in the US. I was considering in getting a resin 3D Printer, but could not yet justify the cost in getting acquiring one yet.
Kind Regards
Peter
Hi Peter,
ReplyDeleteWas looking at your rare earth magnet uncoupler. Is there any particular size you use for these?
Also really like your approach to simple layout construction. I'm looking into similar scenarios for Tasmanian models but all track is hand laid in OO scale with a gauge of 14mm. The idea of your staging yard and loops with essentially a new diorama each time you wan to build a layout is very appealing to me. Cheers Adrian
https://tastrains.blogspot.com/
Hi Adrian,
DeleteFirst of all, Many Thanks for the kind feedback. I do have some more project in mind to utilize the existing Fiddle Yard I built for Narellan as wiring up the large number of points, point motors and DCC Point controllers takes a lot of time and effort to build and can be an expensive excise as well. Below is the link to the ebay store where I got my rare earth magnets from. If you are on Facebook, I would recommend you to join Facebook Group NSWGR 3D Modelling and look in the file section for file called Magnetic uncoupler housing 3.STL which will allow you to 3D print the housing for these rare earth magnets which can be printed from a basic filament 3D Printer.
Furthermore, Thank you for sharing your Link to your Blog Page. Certainly an interesting project that you have taken on. I have placed your blog page to My Blog List and will be certainly following it with great interest.
Kind Regards
Peter
https://www.ebay.com.au/itm/N52-Super-Strong-Magnets-Block-Rare-Earth-Cuboid-Neodymium-Super-Strong-Magnet/113766342712?_trkparms=aid%3D1110006%26algo%3DHOMESPLICE.SIM%26ao%3D1%26asc%3D20190917065201%26meid%3De226d4e9263d4b92bdb90e17ae6f1b71%26pid%3D100935%26rk%3D1%26rkt%3D12%26mehot%3Dsb%26sd%3D352481368610%26itm%3D113766342712%26pmt%3D1%26noa%3D0%26pg%3D2332490%26algv%3DSimplAMLv5PairwiseWeb%26brand%3DUnbranded&_trksid=p2332490.c100935.m2460&fbclid=IwAR1UxJojRjRNRUNFSOGi1V6Mw4CRWh7g-HeV-bOA8x544bd2E1zyFKxr4gQ)