After going through personal woes of July which resulted the progress of Muttama only making a small amount of progress. August seem to somehow offer me with some good free time to work on on my current Muttama Project at a more rapid pace. August progress mostly focuses on the Landscaping of Muttama as you will see that this layout is no longer a plan baseboard with track on it.
Landscaping Muttama
The actual start of the landscaping of Muttama occurred on the last few days in July which was the commencement of profiling of hills around Muttama railway station. From Cootamundra to Tumut, the Country side is rather hilly, therefore I wanted to represent that hilly profile for this project, but make it subtle enough so that the landscaping does not block the view of the track where the activity happens. Materials used is blue installation foam, Portugal cork off cuts and Selleys Spakfilla. Also need anything that has weight to keep the landscape formation materials in place when they are glued to the layout. Please note, that for this exercise, I just needed to get the profiling set as close to what is desired. Plastering and the grouting process will smooth out anything that looks rough.


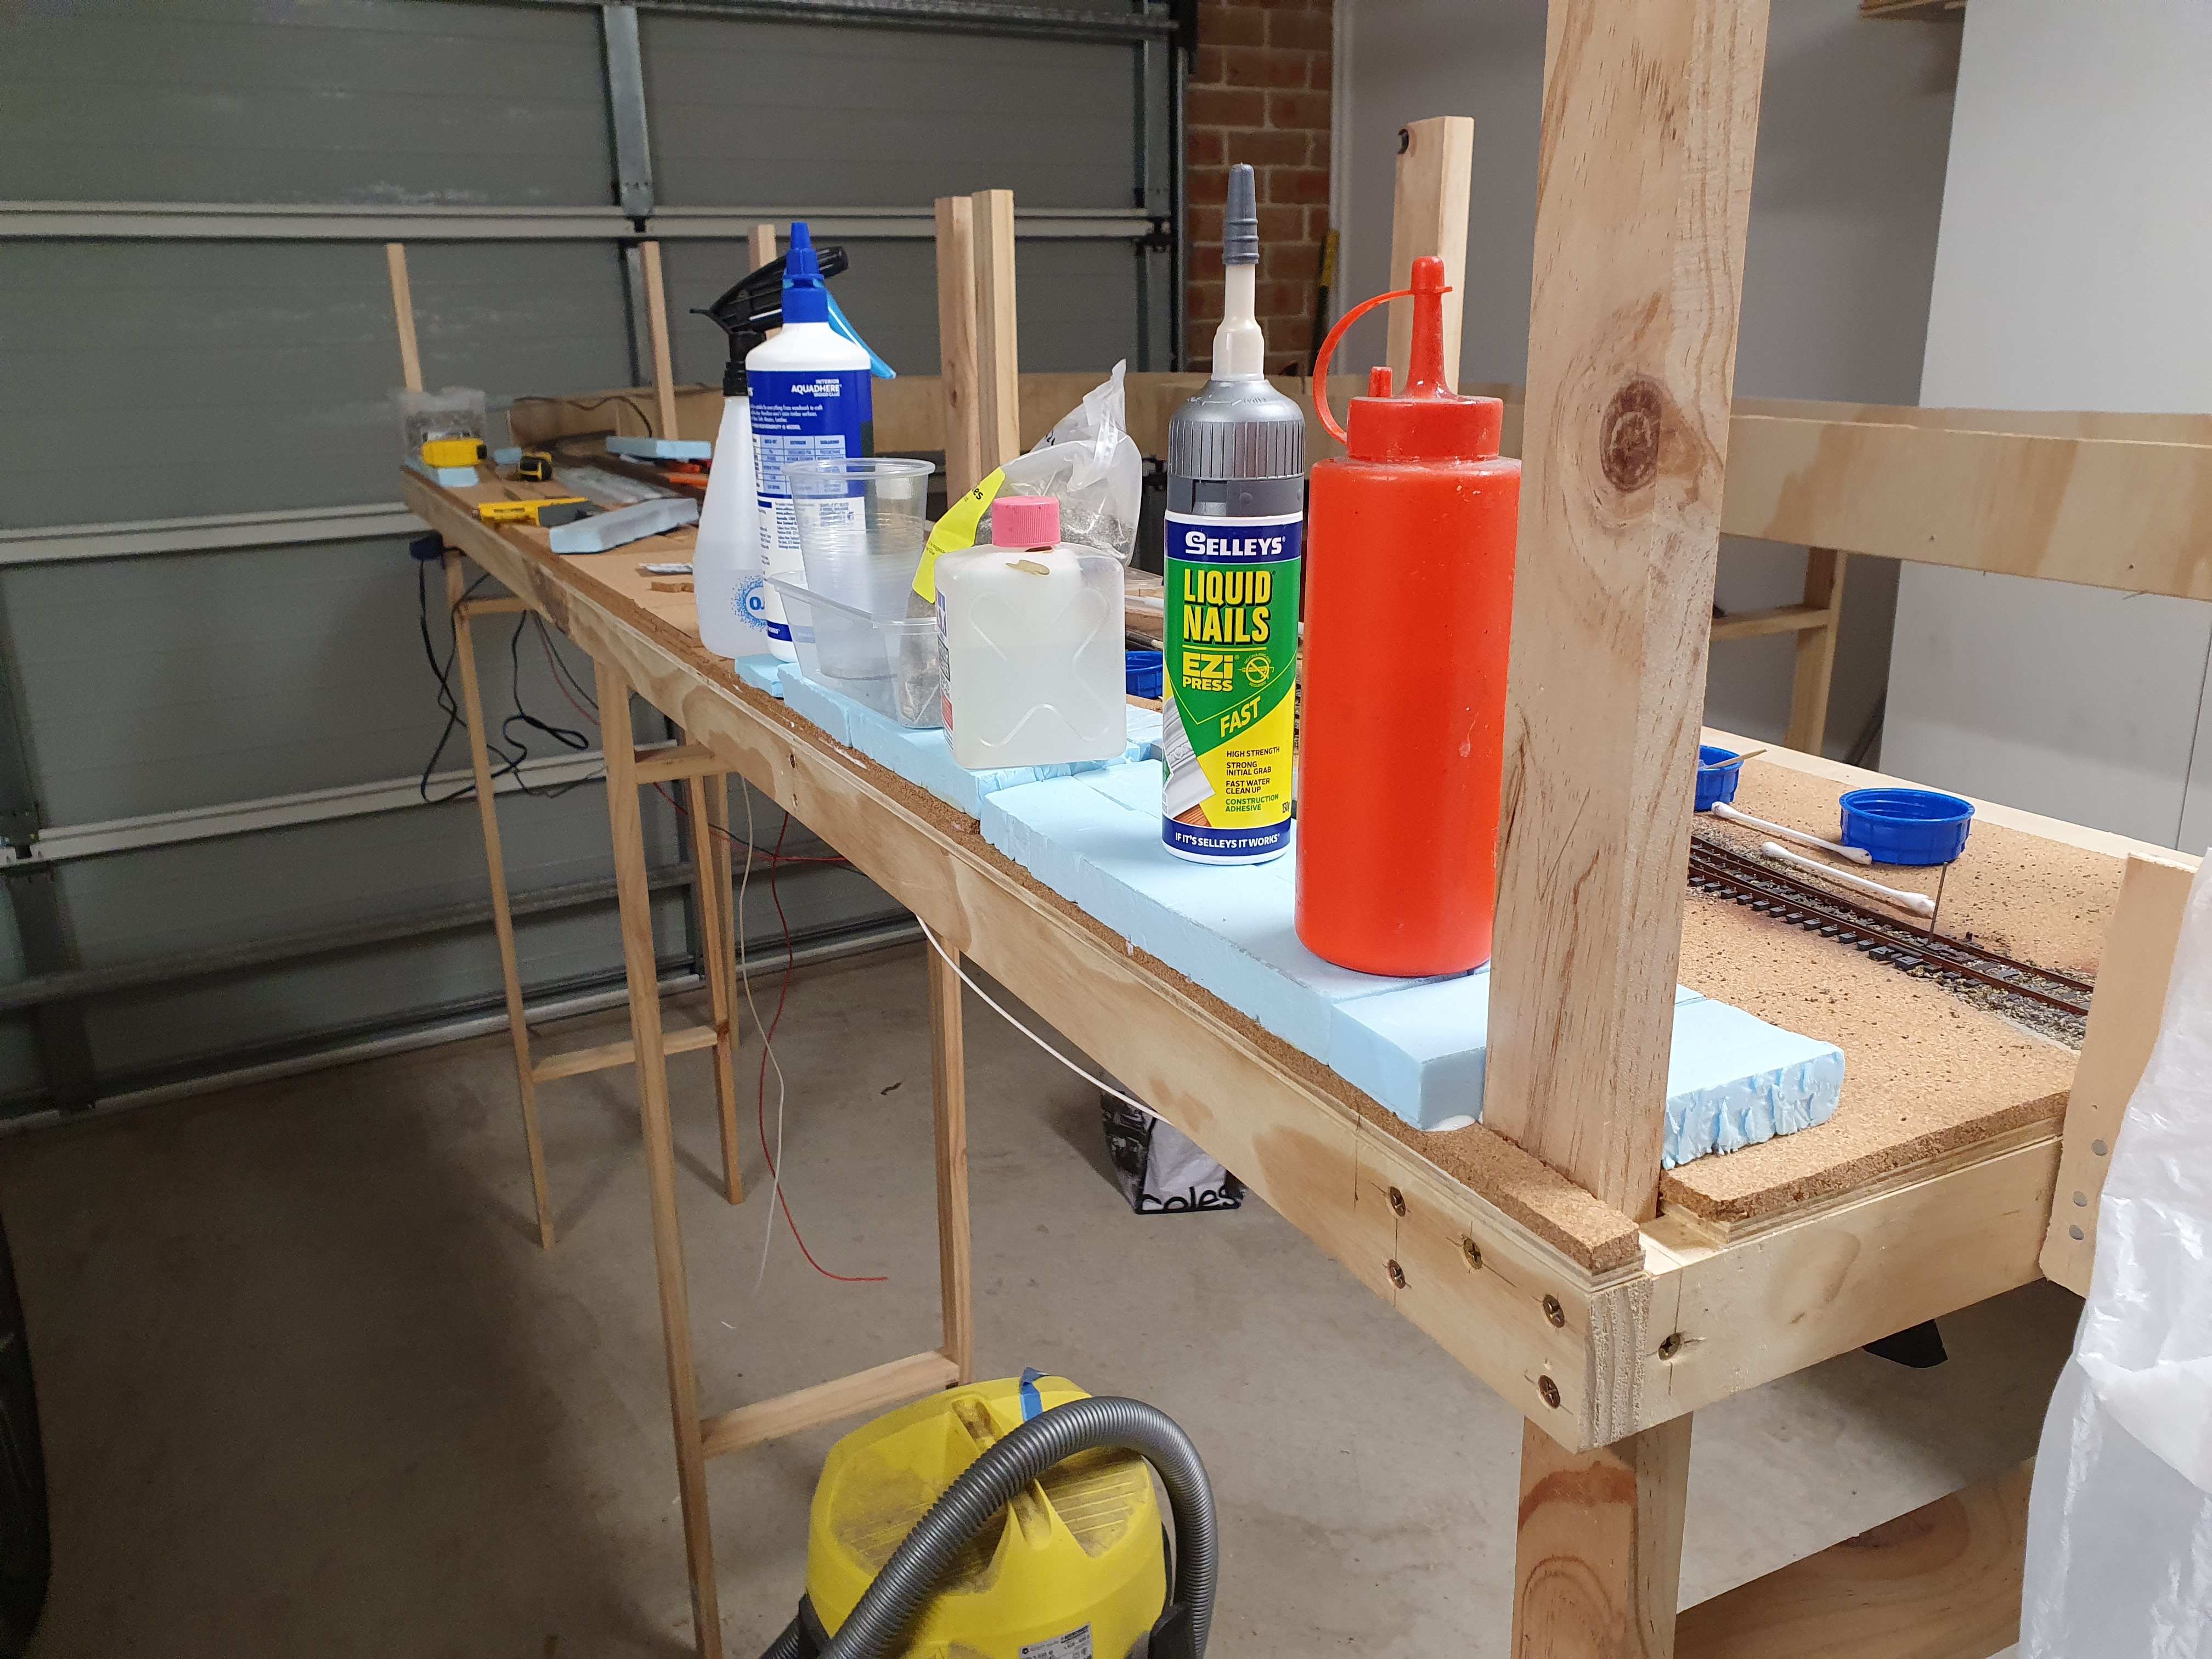

Above Pictures shows the progress of forming the landscaping profile which was carried out on the last few days of July.


Landscaping formation completed ready for plastering
Final Touches For The Landscaping Profile of Muttama
To complete the profile I used Woodlands Scenic Plaster cloth and Davco Corn Silk Coloured Grout.
It is worth noting that the Woodlands Scenics plaster Cloth I used here was their large roll which was the only option available at the time due to the high demand on hobby supplies due to COVID-19.


Plaster Cloth down ready to be set in place


Plaster socked and massage into place


It is worth mentioning that there are several methods of doing landscaping profiling. I have used the method above as grouting brings not only the ground colour but a bare ground finish, (Not showing the woven threads that gets presented from plaster cloth). It is also light in weight which is important for an exhibition layout especially if you are the only person to setup and dismantle a Layout at an Exhibition Event.
All of the above efforts from start to finish took me 8 nights to carry out.
Grassing Up Muttama
Once the Grout had dried up, it was time to apply the turf and grass. Mixture of different static grasses both in colour and in length where applied so it can blend in with the back scene (which I will reveal in a future blog). Please note that I have left some area bare as there are Line Side structures to be put in place at a later time without the need of ripping out scenery.


From the above pictures I applied a mix of Woodlands Scenics Yellow Grass and Burnt Grass Fine Turf. The platform, where the line side structures reside and the roadways will be scenic later on.


Static Grass applied
To match up with the back scene I have mixed up various colours of static grass to get that semi drought look. I have included a picture of the Woodlands Scenic static grass applicator which I have used to apply static grass on my Model Rail Club Exhibition Layout of Wingello, my Narellan Layout and now Muttama. It is not a cheap tool to have but one that I have found essential to have. This particular Static Grass applicator can operate from a 12 Volt adaptor or a 9 Volt battery. I have used this static on all 3 projects without a need yet to replace the 9 Volt battery. Not trying to give any means Woodlands scenics a free plug here, but I personally have found that any static grass applicator that is supplied with 9 Volts of power or above works effectively. In the past I have used a static grass applicator which operated from 2 x AA Batteries (3 Volts) which made the application of static grass difficult and not with the result that I was looking for.
Fencing
In any scene where there is a rail line present there would be at least some form of fencing and for Muttama there is going to be plenty of fence work that needs to be done.
Fences do help a lot in uplifting the look of the scenery especially if there is plenty open area with no structures. Therefore are certainly worth the effort in doing.
On a weekend that had bad weather outside, I cut length of wooden fence posts and drilled in some holes with a pinvise ready to be painted up.

Wooden Fence Posts now ready to be painted up

Fence Posts have been painted in Tamiya Neutral Gray


First lot of wired fencing done
Still a lot more fencing work to be carried out, but I will gradually resume the remainder of the fencing as the positing of some of the Line Side items are put in place.
There are a couple of more items that I got semi completed in August, therefore I will cover it in my next post.

Roadway and level Crossing still work in progress with a bit of work needed to get it looking right
Hopefully the warmer weather in Spring will encourage me to be in my workshop for a longer period of time which will result in getting more tasks completed.