I have just taken a short break from working on Narellan to prepare for the final Model Rail Exhibition for the year. The Exhibition I will be attending to will be hosted in Wagga Wagga this coming weekend. I have the privilege to operate on my friends N Scale layout of Gunning for its first ever Exhibition.
This blog will be more focused on modelling on applying Decals and weathering on 2 lots of N Scale NSWGR 42 class diesel locomotives.
With Auscission Models announcing recently that they will be releasing NR Class Locomotive Ready to Run with DCC Sound option in N Scale, at this current point of time, N scale not just for NSW, but for most of Australia still requires a high level of railway modelling effort if you wish to have the desired models of locomotives and Rolling Stock.
Please note that this the first time that I have to apply decals and have weather locomotives. Hopefully this will encourage others to do the same.
Gopher Models N Scale NSWGR 42 Class Locomotive
Last year, I acquired myself 2 lots of Gopher models 42 class locomotives, which indeed look very nice especially for N Scale. They seem to run smoothly and are powerful units. However, there is one catch with this particular Model. In fact, not just with the 42 Class, but with the other range of Gopher Models product that you will need to apply the decals for the loco number. This is a good option for those who would like to have a particular number in their collection and are willing to go to effort of numbering their loco, but not so attractive for those who just want a fully completed numbered model, though there are folk out there who are willing to number the model as well as installing DCC chips into them for a small cost.

It is not uncommon to see these models run unnumbered on layouts that are both at clubs and at exhibitions, possibly due to the to the fact (like myself up to this point) the owners of these models have yet to gain the courage to apply the decals to reflect numbering to what they desire.
How easy or hard is to decal these models? Read on from here.
Applying Decals to my 42's
After looking at these models for more than a year and a bit, I decided to finally venture into applying the decals to my 42's.
Please note, that there are several other methods that can be used here, but I have decided the following method based on the feedback from those who have successfully applied decals to their models.
Basically for this process, I needed a container with water in it, Gloss Clear Coat, Micro Scale Micro Sol (used for softening and setting the decal on the surface of the model) and Clear coat (Semi Gloss/Satin or Dull Coat) to be applied at the end. However, within this process, I planned to weather my locomotives and will be applying a clear coat finish after the weathering is completed.
Tweezers to get the decal out of the water in the container and for decal placement to on the model. And two clean paint brushes, one to help position the decal on the model and the other to apply the Micro Sol onto the decal.
First step is to apply Maskol on all Windows of the model to protect them from the Clear coat and weathering.
Apply a Gloss Clear Coat on to the model which will help aid the decals to stick to the when they are applied.
Then carefully cut out the decals that I desired to place on the model. For my first model (which was in its earlier livery) I decided to decal it under the number 4206. After sourcing some pictures of 4206, I determined what decals that are needed to be applied.
I initially took the approach to apply the decals that are low risk to be accidentally mis-handled such as the front light number boards and the loco numbering at the rear, then applied the remaining decals. It is worth pointing out, from my past observation, decals can still be easily damaged if they have not have a decal set solution or a clear coat applied.
It is worth pointing out that I found that if the decal was not moving when trying to position it, I just applied more water on to the decal which allowed movement to happen again.
After applying each decal, I applied Micro Sol onto the decal. One thing I would like to point out with applying Micro Sol onto a decal, I found that if you brush it on (as instructed on the bottle) the decal it often moves it out of the area that you have placed it and as the softening the decal is occurring the movement of the decal can cause it to crumble up normally resulting in the decal being destroyed when moving it back into position. I later found that just using the brush to applying the droplets of the Micro Sol solution onto the surface of decal worked well which eliminated the need to bush it on directly, hence keeping the decal in position. I have found also by using a cotton bud patting it down just outside of the area if the decal soaks up the solution which seems to suck in the decal into the model. In some cases, you may notice that the decals may look like it is blistering. Don't get worried about this, it will settle and it will set into the model nicely after a short period of time.


This blog will be more focused on modelling on applying Decals and weathering on 2 lots of N Scale NSWGR 42 class diesel locomotives.
With Auscission Models announcing recently that they will be releasing NR Class Locomotive Ready to Run with DCC Sound option in N Scale, at this current point of time, N scale not just for NSW, but for most of Australia still requires a high level of railway modelling effort if you wish to have the desired models of locomotives and Rolling Stock.
Please note that this the first time that I have to apply decals and have weather locomotives. Hopefully this will encourage others to do the same.
Gopher Models N Scale NSWGR 42 Class Locomotive
Last year, I acquired myself 2 lots of Gopher models 42 class locomotives, which indeed look very nice especially for N Scale. They seem to run smoothly and are powerful units. However, there is one catch with this particular Model. In fact, not just with the 42 Class, but with the other range of Gopher Models product that you will need to apply the decals for the loco number. This is a good option for those who would like to have a particular number in their collection and are willing to go to effort of numbering their loco, but not so attractive for those who just want a fully completed numbered model, though there are folk out there who are willing to number the model as well as installing DCC chips into them for a small cost.

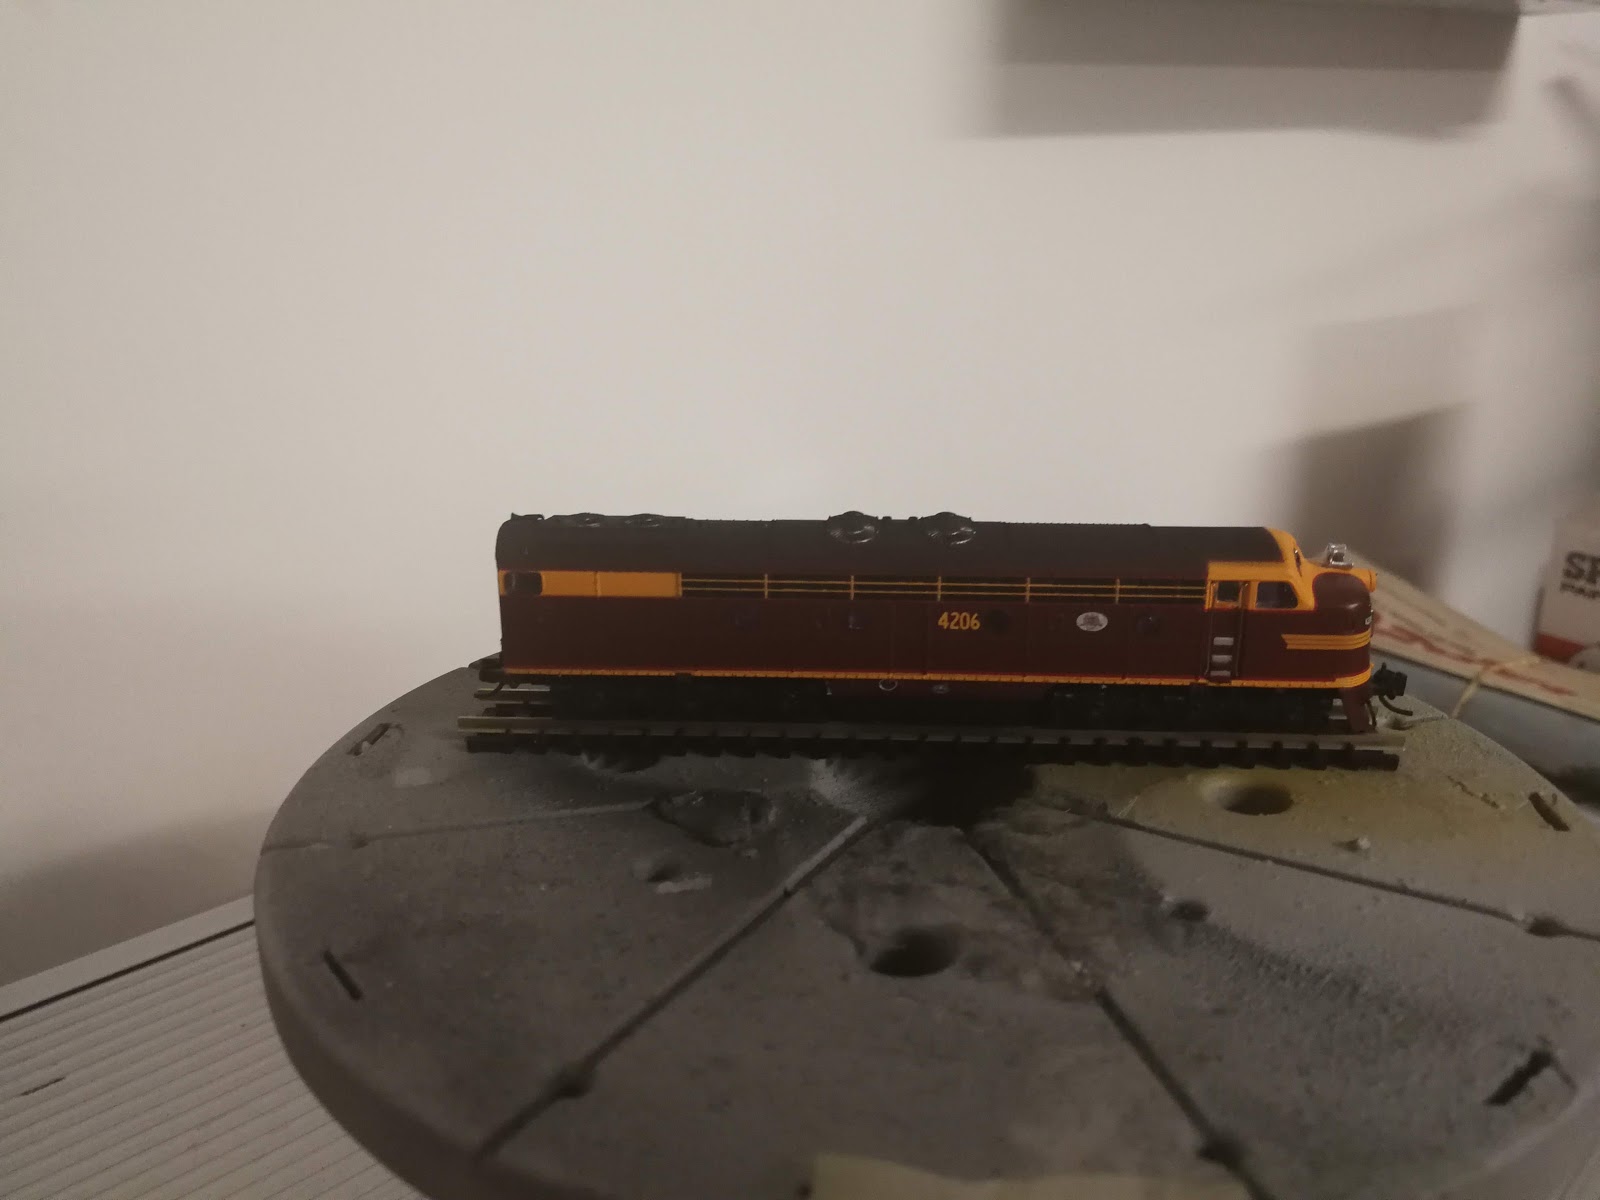
My first subject, before the decals get applied
It is not uncommon to see these models run unnumbered on layouts that are both at clubs and at exhibitions, possibly due to the to the fact (like myself up to this point) the owners of these models have yet to gain the courage to apply the decals to reflect numbering to what they desire.
How easy or hard is to decal these models? Read on from here.
Applying Decals to my 42's
After looking at these models for more than a year and a bit, I decided to finally venture into applying the decals to my 42's.
Please note, that there are several other methods that can be used here, but I have decided the following method based on the feedback from those who have successfully applied decals to their models.
Basically for this process, I needed a container with water in it, Gloss Clear Coat, Micro Scale Micro Sol (used for softening and setting the decal on the surface of the model) and Clear coat (Semi Gloss/Satin or Dull Coat) to be applied at the end. However, within this process, I planned to weather my locomotives and will be applying a clear coat finish after the weathering is completed.
Tweezers to get the decal out of the water in the container and for decal placement to on the model. And two clean paint brushes, one to help position the decal on the model and the other to apply the Micro Sol onto the decal.
First step is to apply Maskol on all Windows of the model to protect them from the Clear coat and weathering.
Apply a Gloss Clear Coat on to the model which will help aid the decals to stick to the when they are applied.
Then carefully cut out the decals that I desired to place on the model. For my first model (which was in its earlier livery) I decided to decal it under the number 4206. After sourcing some pictures of 4206, I determined what decals that are needed to be applied.
I initially took the approach to apply the decals that are low risk to be accidentally mis-handled such as the front light number boards and the loco numbering at the rear, then applied the remaining decals. It is worth pointing out, from my past observation, decals can still be easily damaged if they have not have a decal set solution or a clear coat applied.
It is worth pointing out that I found that if the decal was not moving when trying to position it, I just applied more water on to the decal which allowed movement to happen again.
After applying each decal, I applied Micro Sol onto the decal. One thing I would like to point out with applying Micro Sol onto a decal, I found that if you brush it on (as instructed on the bottle) the decal it often moves it out of the area that you have placed it and as the softening the decal is occurring the movement of the decal can cause it to crumble up normally resulting in the decal being destroyed when moving it back into position. I later found that just using the brush to applying the droplets of the Micro Sol solution onto the surface of decal worked well which eliminated the need to bush it on directly, hence keeping the decal in position. I have found also by using a cotton bud patting it down just outside of the area if the decal soaks up the solution which seems to suck in the decal into the model. In some cases, you may notice that the decals may look like it is blistering. Don't get worried about this, it will settle and it will set into the model nicely after a short period of time.


Result after the all the decals got applied on 4206
Weathering 4206
The next step here is a first for me, which is weathering a Locomotive. I thought it was about time to step up the mark on weathering. I did seek some advise before hand on how best to do this. Again, after looking at some photos I found that the roof would would be black from soot and the lower area of the Locomotive would be mostly be an accumulation of dust. I decided to keep the center of the Loco looking clean.
I decided to only weather using only 3 colours, which in this case was Model Masters Flat Black, Military Brown and Natural Grey. All paints that I have used are Enamel Paints.

Weathering or Decalling, Maskol should be applied onto the windows first.
I started with weathering the roof section first. I decided to get a card cut to the profile of the area of the Cab to provide a protection to the yellow paint, but allow for a bit of over spray to hit that section to allow for a bit of a transition between the weathered roof to the cleaner area of the loco. I felt using masking tape would not allow the weathered to no so weathered to transition well.

Made use of a card where it protects the yellow paint, but with an unsteady hand allow for some black paint to settle on the yellow paint. above the cab.
Roof now weathered
For the lower section where the bogies cow catcher and fuel tank are located, I did a light spray of Military Brown and then a light spray of Natural Grey. Instead of masking the lower section of the model, I made use again of the card to protect the area that I did not want to hit with the paint, but again with holding the card against the model with an unsteady hand allows to the uneven transition where the dust stops to the area that will be left unweathered.


Lower section of the model now weathered
The Final Process of Clear Coating
To now complete this whole process, I decided to use Model Masters Semi Gloss Clear Coat (Over Coat on the Can). This seals the decals on the model which eliminates the risk of the decals accidentally being removed when handling the model. I decided to use Semi Gloss for now, but have the option apply a Dull coat to have a weathered paint job look if I desire to do so later on. I did not touch the model for a day to allow the clear coat to dry. Once dry I removed the Maskol from the window. Task completed.


4206 is now ready for the final Clear Coat finish

Completed 4206 on my Clubs Tarana Layout
Austerity Livery 4205 Also Completed But With a Slightly Different Approach
I did 4205 in the same process, except that I found in my research that the Austerity Liveried 42 Class Locomotives (4204 & 4205) had black cow catcher and yellow roof covering the area where the cab section was. Not that I found that to be an issue, but I did find some photos that the soot and grime that accumulated over time on the roof cover that yellow roof area and found that the grime stopped around the area of where the yellow that is presented on this model. So it was an easy decision for me to do a heavy weathered roof to cover up the area of the Cab that lacked the yellow paint. For the lower part, I used flat black on the cow catcher as around the lower perimeter of this model. Then applied to the Military Brown and Natural Grey.


Completed weathered model of 4205
My Final Take On Decalling and Weathering
I will first cover the decalling process. The ideal circumstances would to have these models pad printed with the numbers at the factory, but I do like the idea that a few Model Rail Manufactures provide in their runs a few unnumbered locomotives to allow the option to decal it with the desired number. And I have in the past purchased unnumbered locomotives for this exact reason.
Decalling these models was not an easy task, but certainly not impossible. My suggestion would be to try and decal a cheap kit and get use to the process before trying it out on these models as a little practice before hand will allow you to decal these locos with a high degree of success. One thing to point out, if you only have one Loco, you will need to be spot on with decals as there are no additional decals incase you fail applying one or a few of them. If you have a few of the same class of the models, then you would have enough supply of decals to complete numbering your locomotive.
As for weathering, I found easy as you do not need to be an artist to apply it. Best advised that was given to me, which I followed here is to do it in small steps at a time check how you are progressing and decide if you proceed to weather further or stop where you are. I certainly have now the urge to do this with my other Locomotives as it does reflect a mini version of the real thing.
No comments:
Post a Comment